I find DIY projects very overwhelming. I highly esteem all you folks who sew this, build that, refurbish here and invent there. The blogosphere has encouraged me to step out of my comfort zone and try a few projects that I normally wouldn’t have the gall to do. How you ask? Through step-by-step instructions and pictures. That way, I don’t have to guess where and when I’ve messed up. I can find out easily by comparing my project-A to the blog project-A. This also allows me the freedom to course correct (please note, I still don’t know what went wrong with my pumpkins in this post here) before giving up completely.
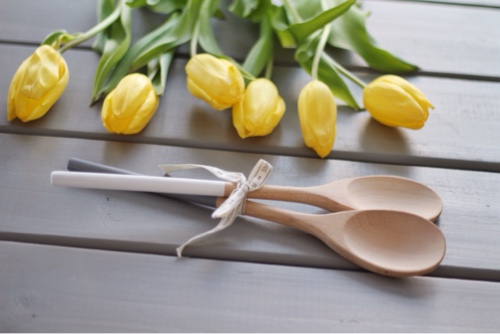
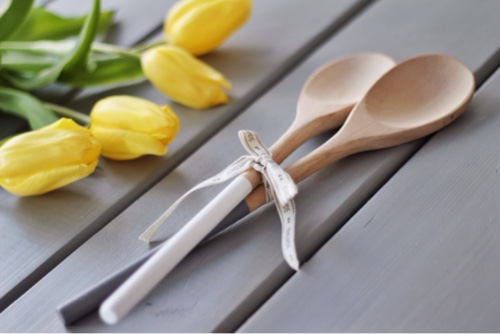
This project’s inspiration stemmed from my desire to have a few hostess gifts in hand or tokens of love to a special friend who pops in. Insert, the DIY project. On Instagram, I saw some super cute ombre wooden spoons and thought they would be a nice treat to buy myself. I love having pretty kitchen tools because I hate cooking – there needs to be some reward! However, once I saw the price of the spoons I pulled up my bootstraps and wandered where no self-loathing DIY-er has gone before – Pinterest and the Michaels craft store. I used this tutorial here to get me going.
Materials
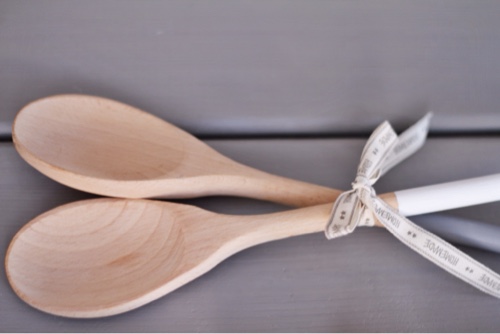
- wooden spoons (I bought some at Superstore, some from Amazon, and some at Homesense. Homesense had the best prices, ~$5.99!)
- assortment of colours of Martha Stewart craft paints in satin finish (available at Michaels, ~$1.99)*
- tape to use as a guide (I used left over “frog” tap from my walls)
- paint brush (Dollar store)
- wood conditioner (Home Depot)
*Marth Stewart’s craft paints are non-toxic and dishwasher safe. They are not considered ‘food safe’ though, so be sure not to paint the entire spoon!
Directions
Step 1: Read. Yes, read all the steps to get a sense of what this projects really entails.
Step 2: Tape. Time to make your guide. Wrap a piece of tape (washi or frog – do not use scotch tape) around the spoon. I tried to have the same tape line across all spoons. Tried is the key word here.


Step 3: Paint. Paint your little heart out! I did about 3 coats on each spoon waiting a day between each coat (wait at least an hour). I found the paint somewhat streaky looking, but the overall outcome I am happy with. To dry, I turned a box upside down, cut a “line” and stuffed the spoon part into the box so the paint could dry. I am quite proud of the contraption I built if I do say so myself. (This post is already turning into 2-for-1 DIY project!)
Tip: The painting and drying will take time. Plan for this. DIY 101 lessons from a beginner. Also, don’t paint late at night. I ended up getting smears of paint on parts of the spoon which I did not want paint. Blast!
step 4: Cure the paint. let the spoons air dry for 1 hour, then place them in a cool oven. Set the temperature to 350°f, once oven reaches 350°, bake them for 30 minutes. Then, turn the oven off and let them cool completely in the oven. Wait 72 hours before using or washing.

WARNING: Do not put bamboo spoons in the oven! The bamboo will burn and the paint will bubble. (All four sets of mine were ruined. I was so devastated. I wanted to call it quits. But I persevered for you all so you could learn from my mistakes. Seriously, would you get this type of dedication and honesty from anyone else?!).
(Optional) Step 5: Condition. Take an old rag/cloth an dip it into the conditioner. Apply by rubbing a coat of the wax on the spoon. Let sit for 20 minutes and then wipe the excess off.
Note: I chose note to do this as I preferred a more natural wood tone.
Step 6: Take a selfie. This a moment to be recorded in history.